")
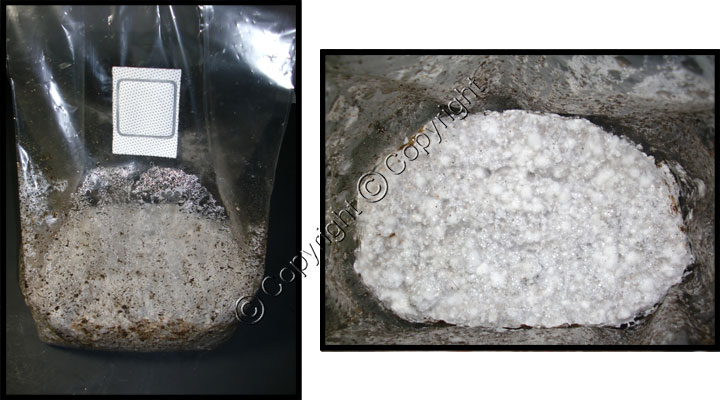
After your substrate has completely colonized with mycelium, it's time to apply the casing layer. You will be able to tell if it has completed colonization when the substrate has turned completely white. The bag should look like the picture above. If you don't know how we got to this step, please read the previous tutorial.
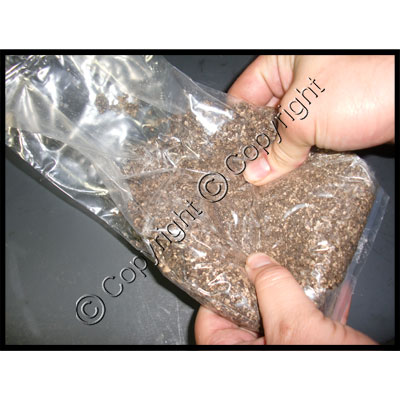

Cut off the bag of casing mixture directly below the filter-patch with a clean pair of scissors. After removing the clamp from the bag of colonized substrate, dump a small portion of the casing mixture into the bag with your block of colonized substrate. You only want to form a 0.25-0.5 inch casing layer on top of the colonized substrate so only pour a small amount of casing into the bag. Do not dump all of the casing into the bag. Spread the casing mixture out in a layer of uniform depth (between 0.25 and 0.5 inches) across the top of the colonized substrate with a clean, gloved hand. Make sure the casing remains reasonably loose (do not pat it down). Reseal the bag of colonized substrate with the mushroom bag clamp. Put the bag of cased substrate back in a dark place and watch it carefully over the next several days. An excellent writeup of how to tell when your casing is finished colonizing can be found here. Make sure to review the link provided and follow the advice given. Once you feel the subsurface of the casing layer is adequately permeated with mycelium, it is time to introduce the substrate to fruiting conditions.
Next Tutorial: Fruiting Conditions