Previous Tutorial: MycoMix™ Bulk Substrate
 Step 17:
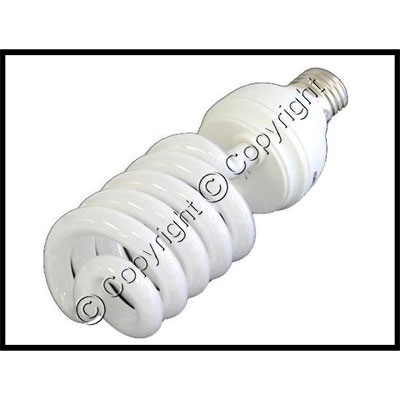
 It is now time to introduce the bag to fruiting conditions. For our purposes, all this really means is that we are going to introduce the colonized bag to a scheduled light cycle and keep the bag in an area that will maintain a temperature between 60 and 80°F (this depends on the species you are growing). We recommend using a
full spectrum fluorescent spiral bulb. The more direct your light source is, the better your mushrooms will grow. The light can be left on for 24 hours a day, or you can put it on a 12/12 cycle, either will work fine.
 Step 18:
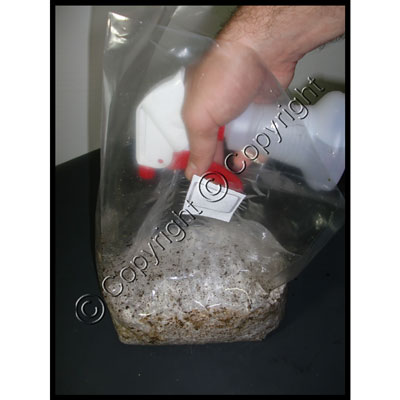
 Once the substrate has been introduced to fruiting conditions, you need to mist the substrate once per day throughout the entire fruiting stage. Remove the clamp from the bag and lightly mist the substrate with a clean
misting spray bottle. Holding the nozzle of the bottle beneath the filter when spraying will prevent the filter from getting wet. Five or six sprays is sufficient, you don't want to soak the colonized substrate or leave pools of standing water on top of it. If excess water develops in the bag, carefully pour it out after you mist the substrate, being careful not to get the filter wet.
 Step 19:
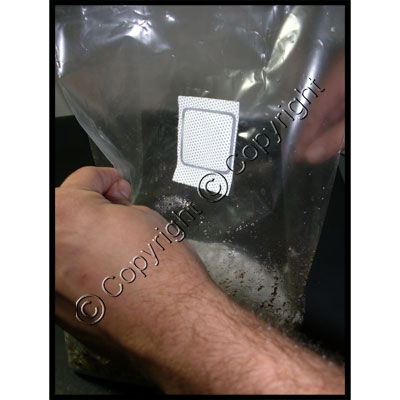
 Immediately after misting, you need to fan the bag of colonized substrate. To fan the bag, simply move the gussets of the bag in and out in a steady motion, creating a fan-like effect. This will promote fresh air exchange and vent out any CO2 that has been produced. This should be done on each bag for approximately 90 seconds. After fanning, reseal the bag of colonized substrate with the mushroom bag clamp.
Remember to mist and fan once per day until the substrate is no longer producing mushrooms. If substrate appears to be fairly moist, you can skip misting on some days.
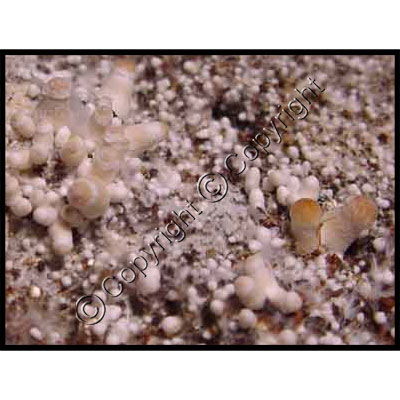 Step 20:
 After you have introduced your bag to fruiting conditions and a scheduled light cycle, you will see primordia start to form in approximately 5-10 days. These are miniature pinheads that will eventually turn into mushrooms.
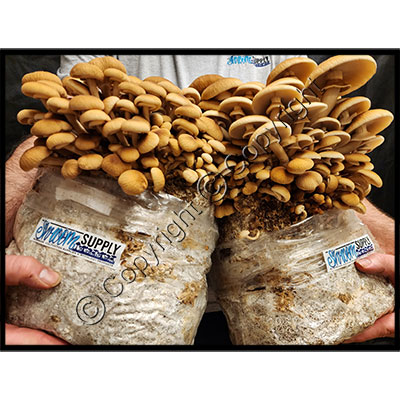 Step 21:
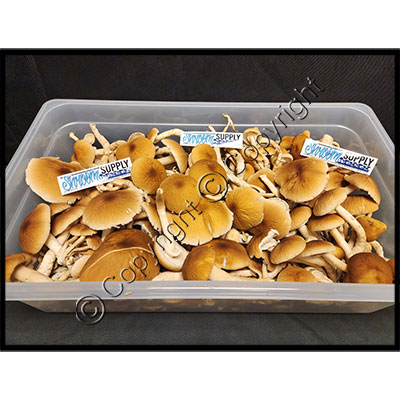
 The primordia in the previous picture will develop into pins within a couple of days. A couple of days later the veils of the mushrooms will start to open up. Once the majority of the mushroom caps have opened up, it's time to pick them!
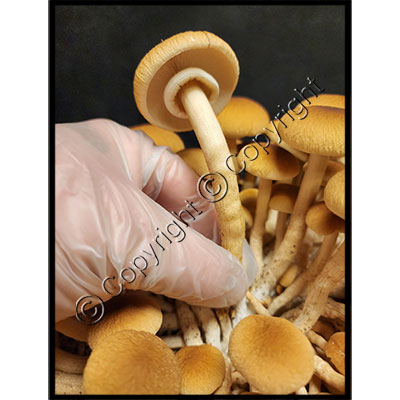 Step 22:
 When you pick the mushrooms, grab them from the base and "root" them up with a clean, gloved hand. If pieces of mushroom fruitbodies are left on the substrate after harvesting, they can rot and become a vector for contamination.
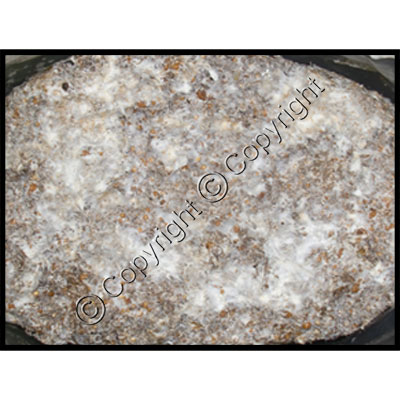 Step 23:
 Once you pick all your mushrooms, the substrate should be free of all pieces of fruitbodies. It should look like the photo above. This is the perfect time to mist/fan and put the lid back on your monotub. Put the monotub back on its light schedule and wait for the next flush! Remember to continue to mist and fan the monotub daily. You should get 4-5 flushes before the substrate is spent (no longer productive) with about 7-10 days between harvests.