Shroom Supply's
Mile High mushroom grow kits provide a convenient and effective way to grow mushrooms at home. Our grow kits are a three stage process:
1) Spawn Production 2) Bulk Substrate Colonization 3) Mushroom Fruiting

1) Spawn Production
Thank you for purchasing
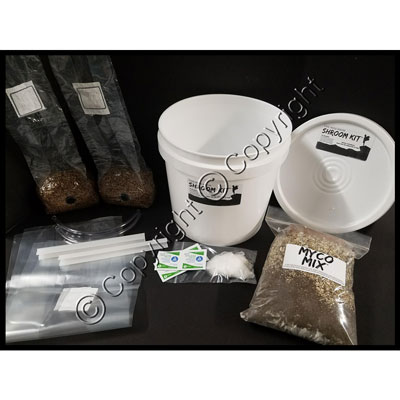
The Mile High Mushroom Grow Kit! Our grow kit comes with everything you need to grow mushrooms except a spore syringe. Our kits do not come with any spores. You will need to source a spore syringe separately. The contents of your kit includes: (2) 1 lb. bags of sterilized rye berry grain spawn with injection ports, (1) bag of MycoMix™ Substrate, (2) filter-patch mushroom grow bags, (2) mushroom bags clamps and tubes, (4) sterile alcohol swabs, (2) pairs of vinyl gloves, and (1) pair of plastic elbow gloves. You should be doing the spore injection in a "still-air" environment. Turn off any fans and your AC/heater an hour prior to inoculating your rye berry bags (this reduces the amount of airborne contaminants in the area). It is also recommended to work in a clean, small room with the door closed to prevent airflow.
 Step 1:
 The first step of inoculating a
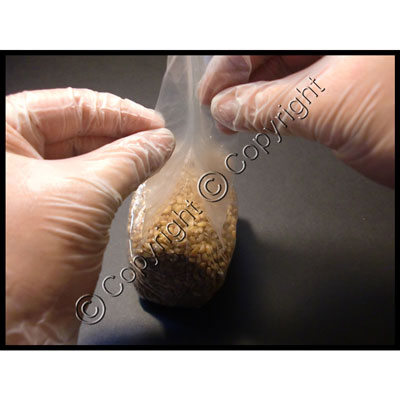
grain bag is to prepare it for injection with spores or mycelial culture. Carefully pull the gussets on the bag apart all the way up to the top of the bag, where it is sealed. You want to make sure the plastic is pulled away from the filter so it has some room to "breathe." If the filter is pressed up against the plastic of the bag, it will limit gas exchange during the colonization phase and could potentially stall the colonization process.
 Step 2:
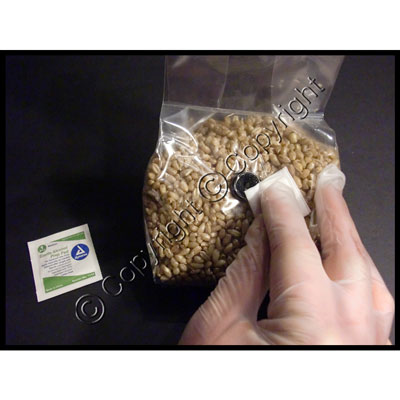
 Put your gloves on if you have not already. Wipe down the black self-healing injection port with a sterile alcohol swab.
 Step 3:
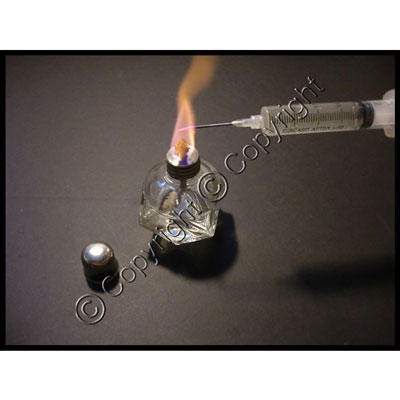
 Flame the needle of your syringe for 15 seconds. After flaming the needle, press the plunger of the syringe down slightly and squirt a small amount of solution out of the needle to cool it down. This step is best performed with the assistance of an
alcohol burner because it will not leave any soot on your needle. If a lighter is used instead, wipe off any lighter soot that is left behind on the needle with a sterile alcohol swab immediately after flame sterilization.
 Step 4:
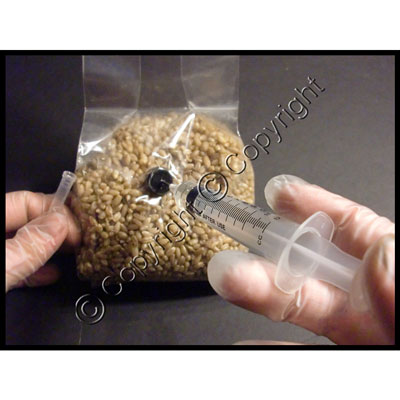
 Carefully inoculate the bag through the self-healing injection port with 1-2 ccs of spore or culture solution.
 Step 5:
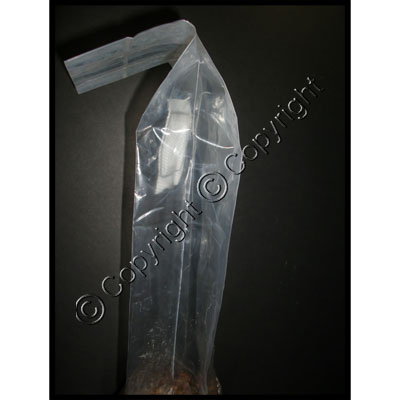
 Place your bag in a dark place that is subject to minimum disturbances and will maintain a temperature between 75 and 81°F. You should see signs of growth 3-10 days after inoculation. Try your best to disturb the bag as little as possible during this time period.
You want the bag in an upright position (not rolled up) with ample space between the filter and the plastic of the bag so it can breathe during this critical colonization time period. See picture above. REPEAT STEPS 1-5 FOR THE ADDITIONAL BAG OF RYE BERRIES THAT CAME IN YOUR KIT.
 Step 6:
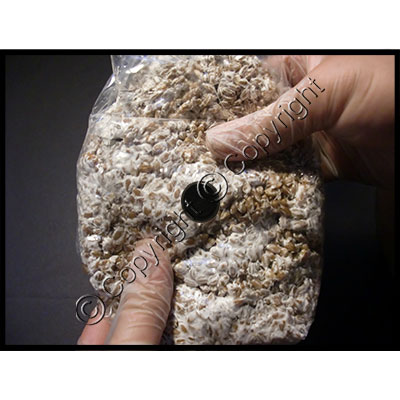
 After approximately 3-4 weeks, the mycelium will have colonized 70-75% of the bag.
 Step 7:
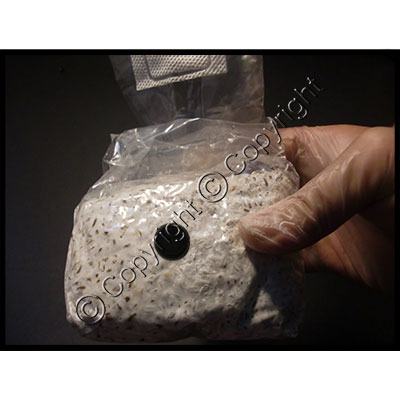
 At this point of colonization (70-75%), break the grain up with your hands through the outside of the bag. This will distribute the mycelium and speed up the last phase of colonization. Do not perform this step until mycelial colonization has reached a minimum of 70%, doing so can stall growth.
 Step 8:
 The mycelium will take several days to recover from getting broken up and should colonize 100% of the bag approximately three to seven days after the prior step (breaking up mycelium) was performed.

2) Bulk Substrate Colonization
 Step 9:
 Once the bag is completely colonized with mycelium (you should not be able to see any uncolonized grain), break the grain up with your hands through the outside of the bag. Make sure the grain gets broken up completely and thoroughly.
 Step 10:
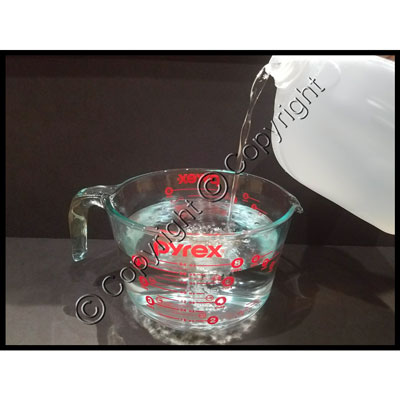
 Measure 53 fluid oz. (6.6 cups; 1567 mL) of clean water (store-bought spring water is recommended). Add the water to a heat-safe pot and place atop a stovetop burner. Adjust heat to HIGH.
 Step 11:
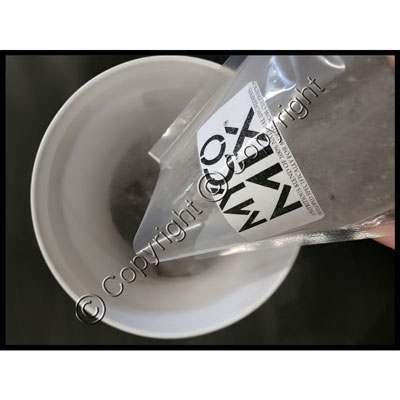
 While waiting for the water to reach a boil, open the bag of
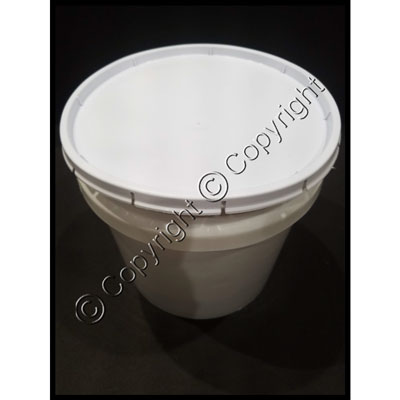
Myco Mix™ and pour it into a two (2) gallon bucket. We recommend this specific size because it minimizes the amount of void space inside the bucket, allowing the substrate to retain more heat.
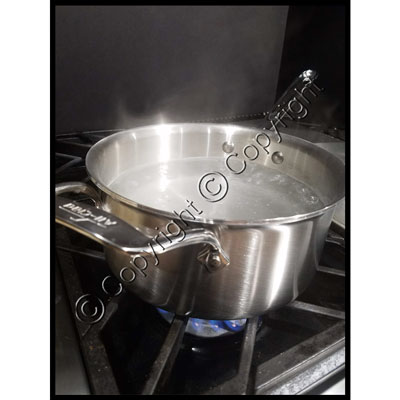 Step 12:
 Bring water to a rolling boil for one (1) minute.
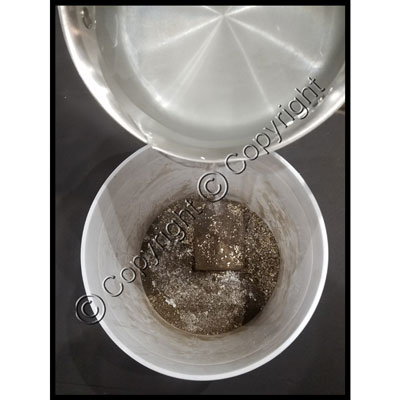 Step 13:
 Carefully remove the pot of boiling water from the stovetop and pour into the bucket containing the
MycoMix™. When pouring the water into the bucket, aim for the chunk of brown coco coir, as it is the most critical ingredient to hydrate.
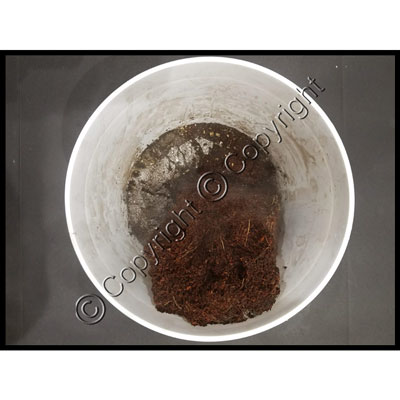 Step 14:
 After pouring the boiling water into the bucket, you should notice immediate expansion of the coir like seen in the picture above. IMMEDIATELY seal the bucket with the bucket lid. The contents will be very hot and the steam may partially break the seal of the lid. If this happens, let the steam vent for a few seconds then reseal the lid. Let the sealed bucket sit for 45 minutes.
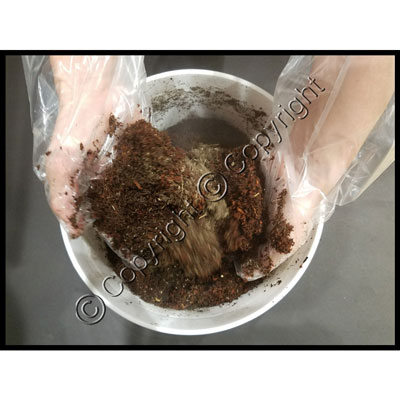 Step 15:
 After the
Myco Mix™ has sat in the sealed bucket for 45 minutes, put on a pair of
plastic elbow gloves. Remove the lid from the bucket and place aside. Contents of bucket will be very hot. Quickly and thoroughly mix the contents of the bucket into a homogenous blend, making sure to breakup all chunks of coco coir and other ingredients. The most effective way to mix by hand is to repeatedly turn the contents from the bottom of the bucket to the top. Perform this step as quickly as possible then reseal the lid on the bucket.
 Step 16:
 Let the sealed bucket sit for four (4) hours.
 Step 17:
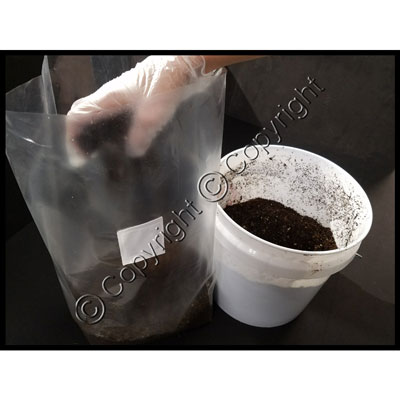
 It is best to do this step in a small, clean workspace with limited airflow. Each bag of our
MycoMix™ makes enough substrate for spawning TWO (2) bags of our
sterilized rye berries. With a clean, gloved hand transfer half of the
Myco Mix™ in the bucket to a
large 5.0 µm filter bag then set the bag aside. Transfer the remaining half of the
Myco Mix™ in the bucket to another
large 5.0 µm filter bag. The two bags you just made are for TWO separate bags of colonized rye. For simplicity's sake, the following instructions are for ONE bag of rye. You will need to repeat the following steps for your second bag of colonized rye.
 Step 18:
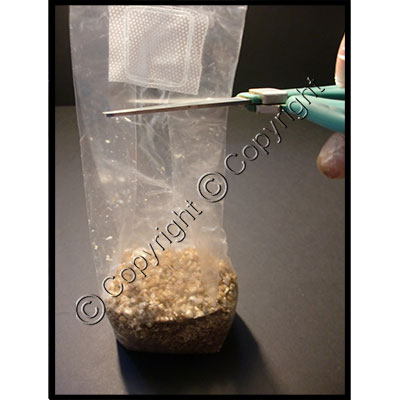
 Cut off the bag of broken-up
colonized grain (the bag that you previously broke up) directly below the filter-patch with a clean pair of scissors.
 Step 19:
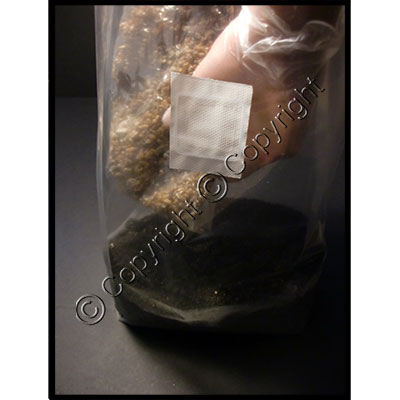
 Dump the broken-up grain bag into one of the new bags of
MycoMix™ substrate that you just made.
 Step 20:
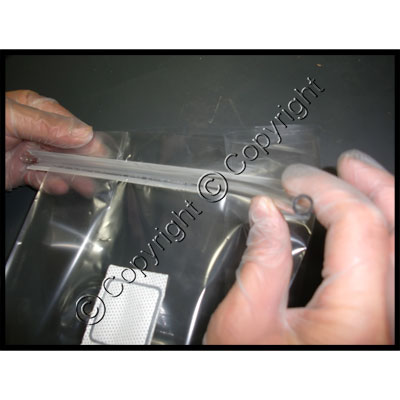
 Seal the bag with the included
mushroom bag clamp and
tube approximately two inches from the top of the bag.
 Step 21:
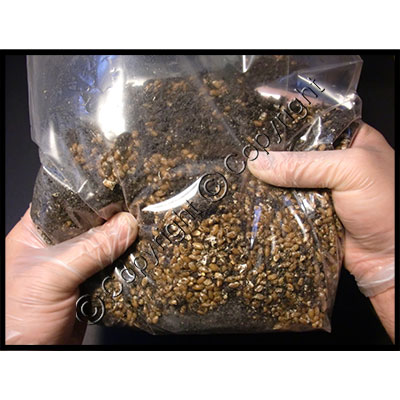
 Mix the grain and substrate mixture by massaging the outside of the bag. It is very important to make sure that the mixture is mixed up thoroughly and that the grain is distributed evenly throughout the bag.
Repeat Steps 18 through 21 for each bag of colonized grain.
 Step 22:
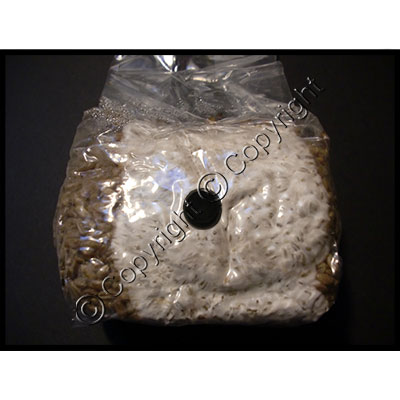
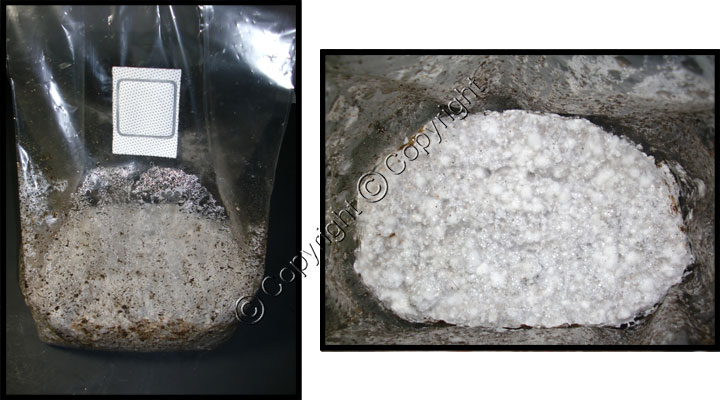
 Put the bag in a dark place that will maintain a temperature between 75-81°F. Disturb the bag as little as possible during this time period and
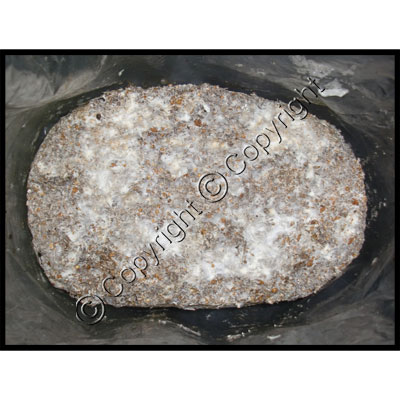
do not open it until colonization is complete. It will take approximately 5-10 days for the substrate to completely colonize with mycelium (you will be able to tell if it has completed colonization when the substrate has turned completely white). The bag should look like the picture above.

3) Mushroom Fruiting
 Step 23:
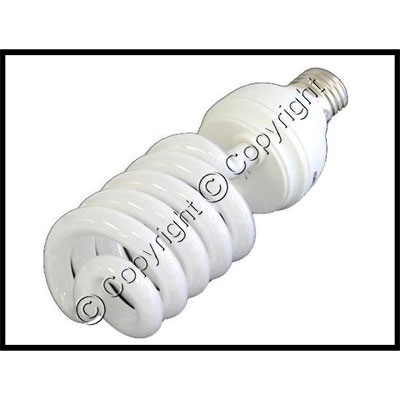
 It is now time to introduce the bag to fruiting conditions. For our purposes, all this really means is that we are going to introduce the colonized bag to a scheduled light cycle and keep the bag in an area that will maintain a temperature between 60 and 80°F (this depends on the species you are growing). We recommend using a
full spectrum fluorescent spiral bulb. The more direct your light source is, the better your mushrooms will grow. The light can be left on for 24 hours a day, or you can put it on a 12/12 cycle, either will work fine.
 Step 24:
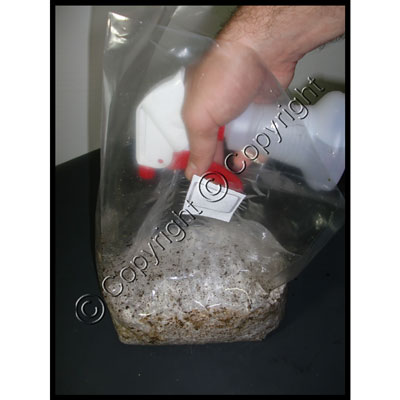
 Once the substrate has been introduced to fruiting conditions, you need to mist the substrate once per day throughout the entire fruiting stage. Remove the clamp from the bag and lightly mist the substrate with a clean water bottle. Holding the nozzle of the bottle beneath the filter when spraying will prevent the filter from getting wet. Five or six sprays is sufficient, you don't want to soak the colonized substrate or leave pools of standing water on top of it. If excess water develops in the bag, carefully pour it out after you mist the substrate, being careful not to get the filter wet.
 Step 25:
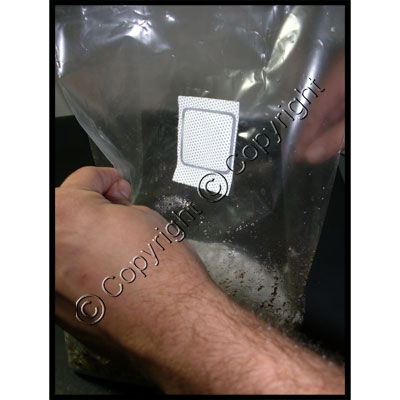
 Immediately after misting, you need to fan the bag of colonized substrate. To fan the bag, simply move the gussets of the bag in and out in a steady motion, creating a fan-like effect. This will promote fresh air exchange and vent out any CO2 that has been produced. This should be done on each bag for approximately 30 seconds. After fanning, reseal the bag of colonized substrate with the mushroom bag clamp.
Remember to mist and fan every day until the substrate is no longer producing mushrooms. If substrate appears to be fairly moist, you can skip misting on some days.
 Step 26:
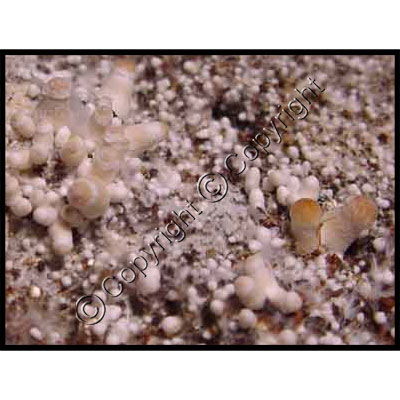
 After you have introduced your bag to fruiting conditions and a scheduled light cycle, you will see primordia start to form in approximately 5-10 days. These are miniature pinheads that will eventually turn into mushrooms.
 Step 27:
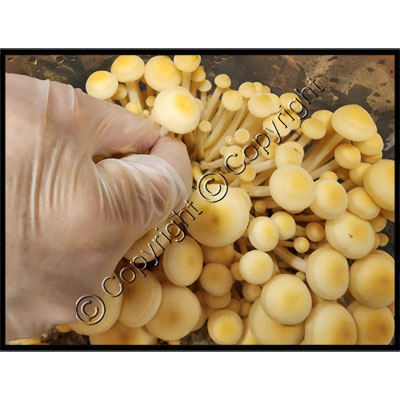
 The primordia in the previous picture will develop into pins within a couple of days. A couple of days later the veils of the mushrooms will start to open up. Once the majority of the mushroom caps have opened up, it's time to pick them! When you pick the mushrooms, grab them from the base and "root" them up with a clean, gloved hand. If pieces of mushroom fruitbodies are left on the substrate after harvesting, they can rot and become a vector for contamination.
 Step 28:
 Once you pick all your mushrooms, the substrate should be free of all pieces of fruitbodies. It should look like the picture above. This is the perfect time to mist/fan and reseal your grow bag with the bag clamp. Put the bag back on its light schedule and wait for the next flush! Remember to continue to mist and fan the bag daily. You should get 4-5 flushes before the substrate is spent (no longer productive) with about 7-10 days between harvests.


